
Did you know that you can customize the way Sierra displays? One of the benefits of migrating to Sierra is that because you have your own login, you can also customize the way Sierra looks and feels. But how?
First, open the Sierra Desktop Application.
CHOOSE YOUR SKIN
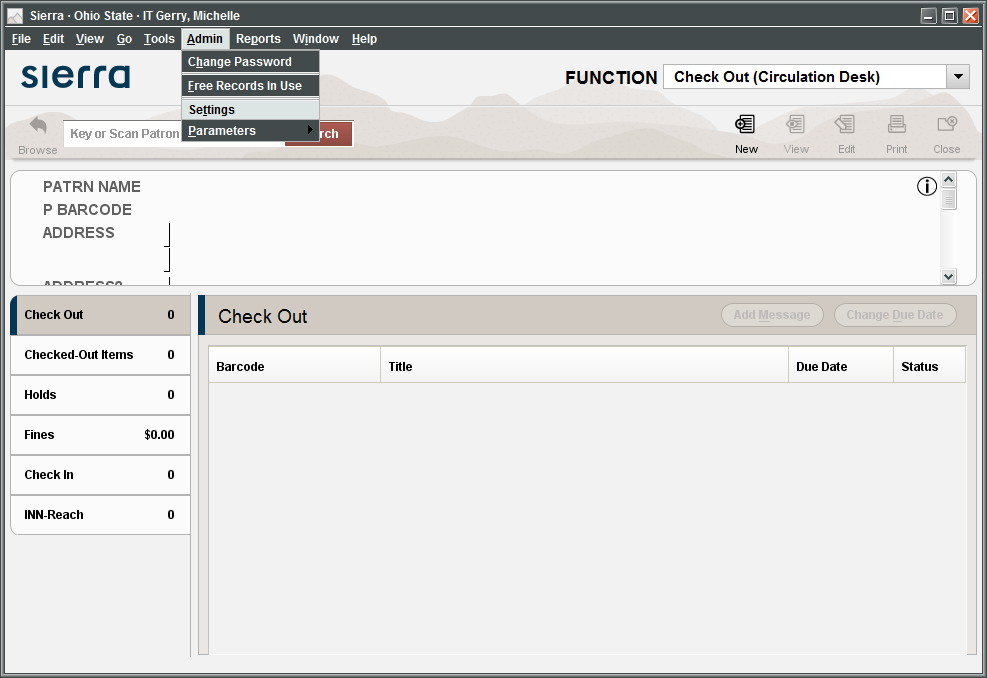
From the top menu, click Admin (or press Alt+A on your keyboard) then select Settings:
In the new window, click the tab labeled Display.
Click the Skin drop-down menu in the Look and Feel section:

Choose between Half Dome and Glacier Point. Half Dome is the earth-toned skin, Glacier Point is the pale blue skin (The screen shots being used demonstrate the Glacier Point skin) .
Click Save Settings, then click OK to close the window.
CHOOSE YOUR EDITOR PREFERENCES
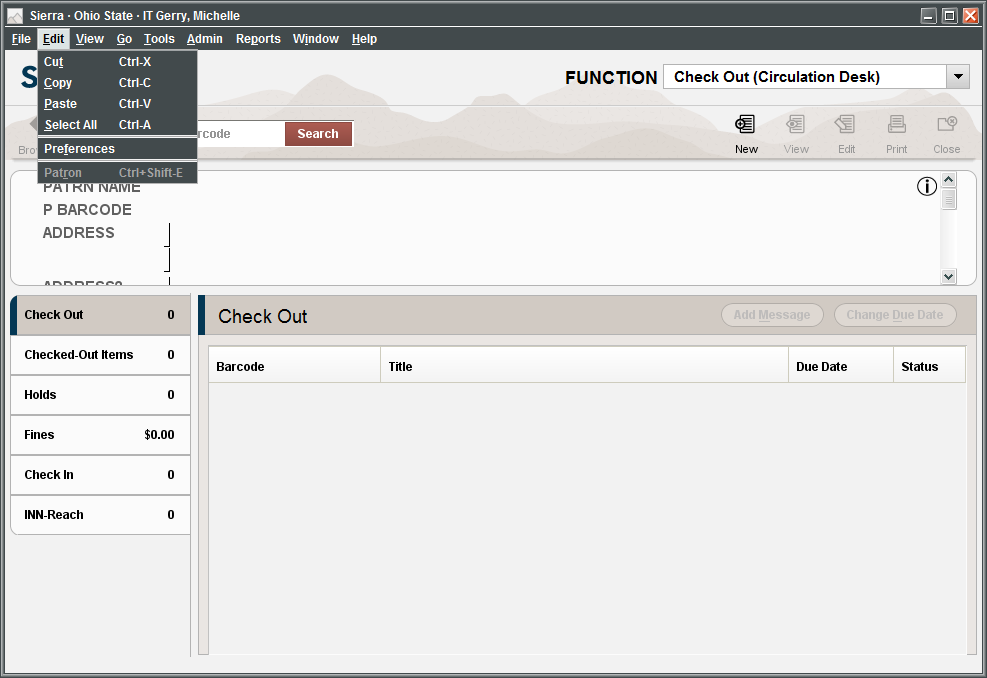
From the top menu, click Edit (or press Alt+E on your keyboard) then select Preferences:
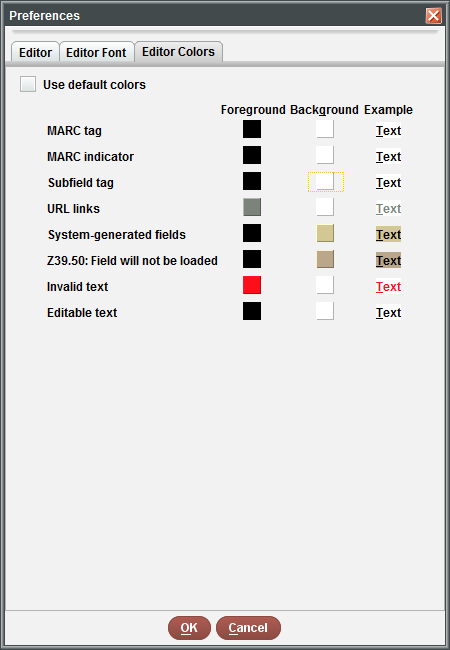
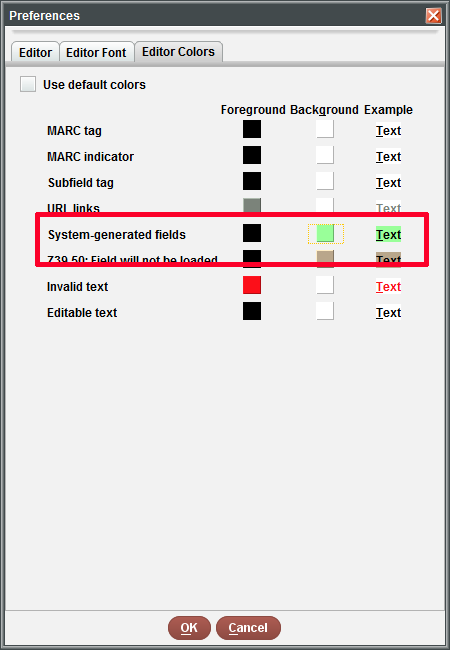
Select the tab labeled Editor Colors. To change a foreground or background color, click the square in the appropriate column.
A window of color choices will display. Click on your preferred color:
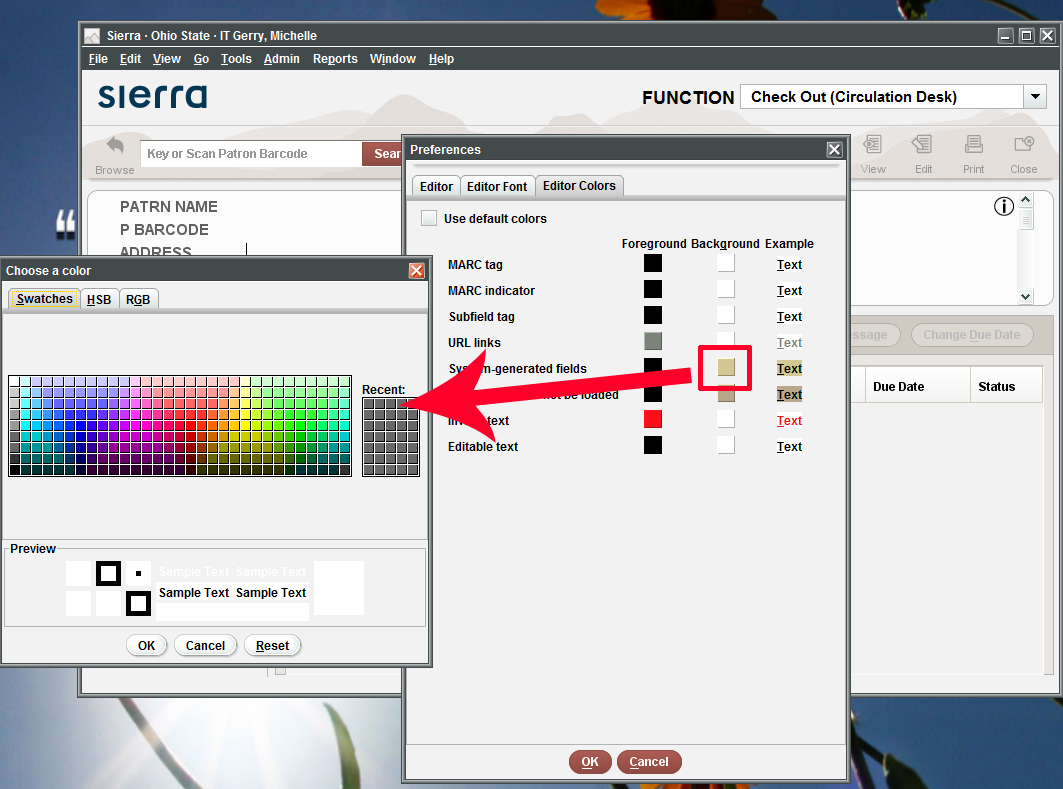
After you have selected the color you want. The new color choice and an example text will display:
In the Editor Font tab, you can also change the font type, size and style. Give it a try!